Gulab Jamun Cake

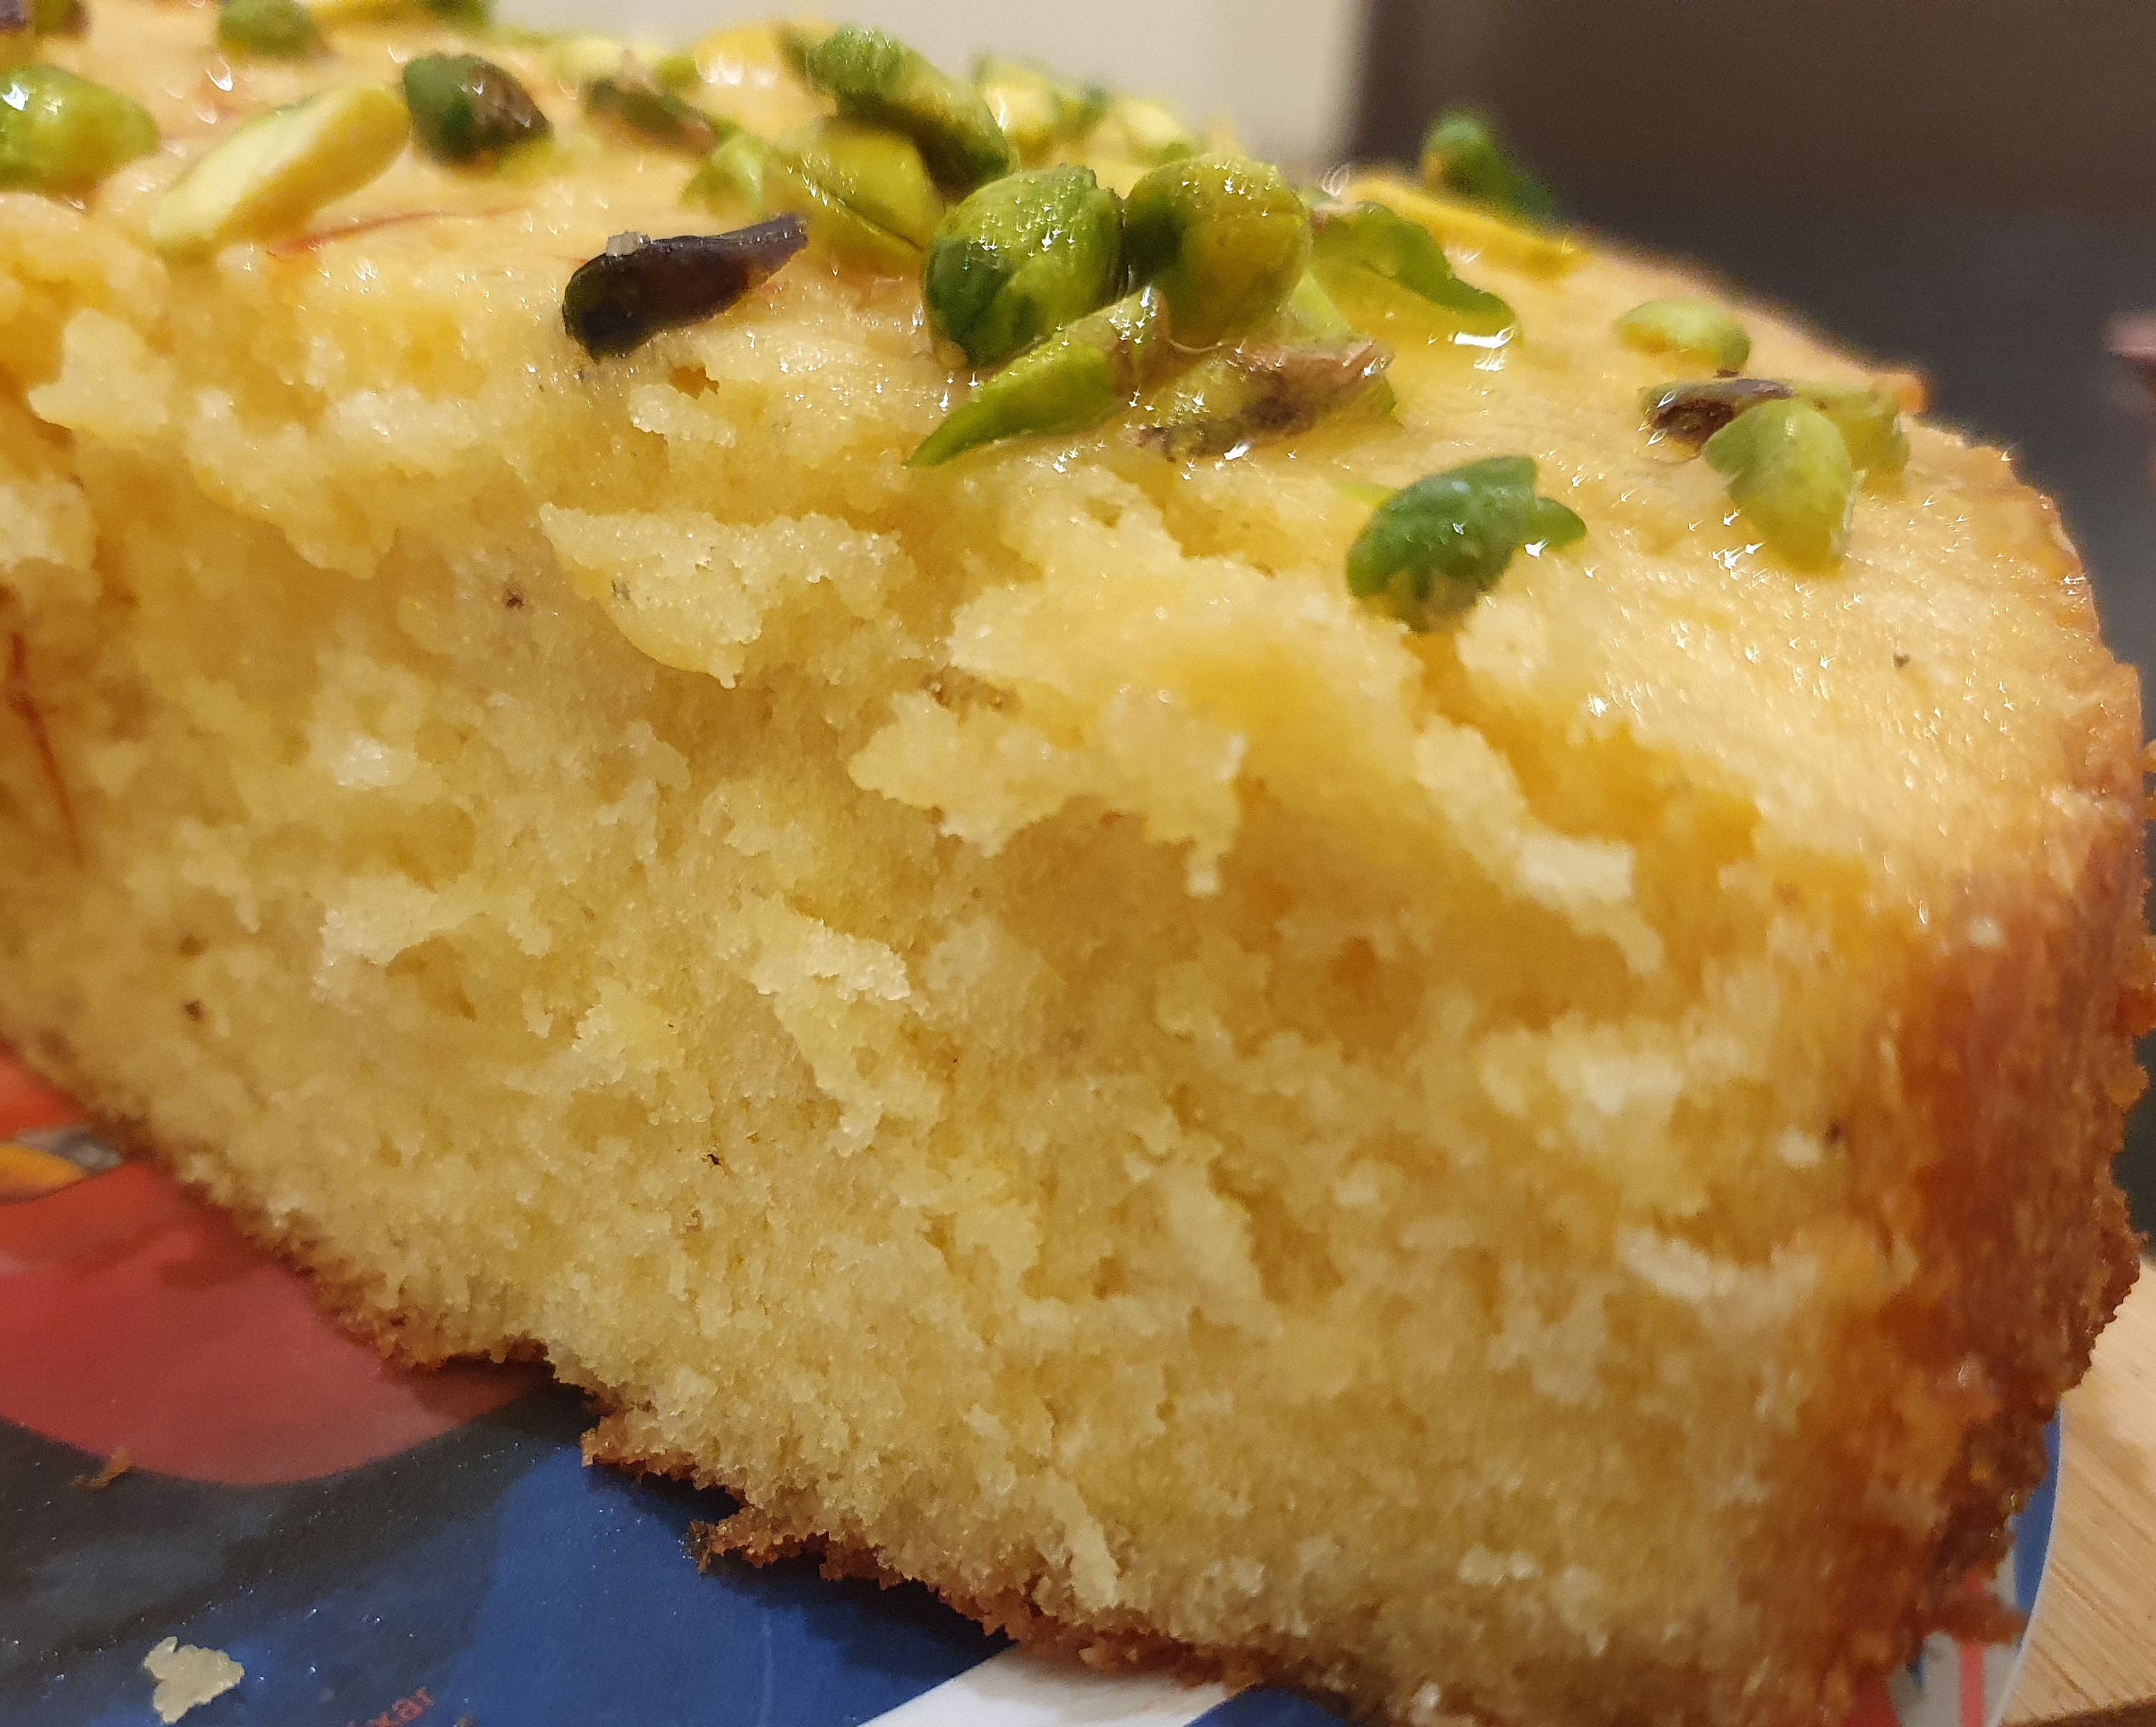
We all love gulab jamuns right? And we all love cake too. So why not we have the gulab jamun and eat the cake as well?

Gulab jamun is the quintessential Indian dessert. You find it on the menu of every Indian restaurant and certainly at every Indian wedding. My mom makes the most amazing gulab jamuns. The soft balls literally melt in the mouth. And since, it’s so difficult to always make it perfect like her, how about we make our lives a little easier? Why not turn this dessert into a cake?

My sister in law made this gulab jamun cake for my mom’s birthday and we all simply loved it that it vanished in minutes. She got the recipe from tasty.co and since the kids were asking for more, within a week or so I made it. Only for it to disappear again.

Important thing is to not skip any ingredient and just follow the recipe blindly. Believe me it will surely be a hit at your place or party too!

Again, this recipe has been adapted from tasty.co. All credit goes to the creator Hetal for this amazing recipe

INGREDIENTS FOR CAKE

  • 2 sticks (225 g), unsalted butter, softened, plus 1 tablespoon, for greasing
  • 1 ⅓ cups all purpose flour (165 g)
  • ⅓ cup milk powder (35 g)
  • 1 cup granulated sugar (220 g)
  • ¾ teaspoon cardamom powder
  • 1 teaspoon salt (skip if you’re using salted butter)
  • 1 teaspoon vanilla extract
  • 4 large eggs

GULAB JAMUN SYRUP

  • 1 cup water (240 mL)
  • 1 cup granulated sugar (220 g)
  • ½ teaspoon saffron thread
  • 8 cardamom pods, slightly crushed
  • 1 cinnamon stick
  • 1 teaspoon rose water
  • 2 teaspoons fresh lime juice

FOR SERVING

  • 1 ¾ cups powdered sugar (190 g)
  • 1 tablespoon dried rose petal, optional
  • 1 tablespoon pistachio, chopped
  1. Preheat the oven to 325°F (160°C). Grease a baking tray with 1 tablespoon of butter. Keep aside.
  2. In a medium bowl, whisk the flour and milk powder together until well combined.
  3. In another bowl, beat the butter, sugar and ground cardamom for 5-7 minutes until the butter turns pale and fluffy. Add the salt and vanilla and stir to combine. Add 1 egg at a time, beating well between each addition.
  4. Add the flour mixture. Mix until the dry ingredients are just incorporated
  5. Spoon the batter into the baking tray and tap the tray on the counter 3–5 times to remove air bubbles.
  6. Bake the cake for 35–40 minutes, or until a toothpick inserted into the center of the cake comes out clean.
  7. Once the cake is done, poke holes all the way to the bottom of the cake, with a skewer.
  8. To make the syrup – Add the water, granulated sugar, saffron, cardamom pods, and cinnamon stick to a small saucepan. Bring to a boil over medium-high heat and simmer for 2 minutes. Remove the pot from the heat and whisk in the rose water and lime juice. Remove the cinnamon stick and cardamom pods from the syrup and discard. Reserve ¼ cup (60 ml) of the syrup and set aside.
  9. Pour the syrup over the cake while it is still warm in the pan. It will look like a lot of syrup, but the cake will soak it all up. Let the cake rest for 10 minutes. And then transfer onto a serving platter. (If you’re using a bundt pan, you might want to invert it onto the platter)
  10. In a medium bowl, whisk together the powdered sugar and reserved syrup to make a glaze.
  11. Pour the glaze over the cake. Sprinkle with the dried rose petals, if using, and pistachios.
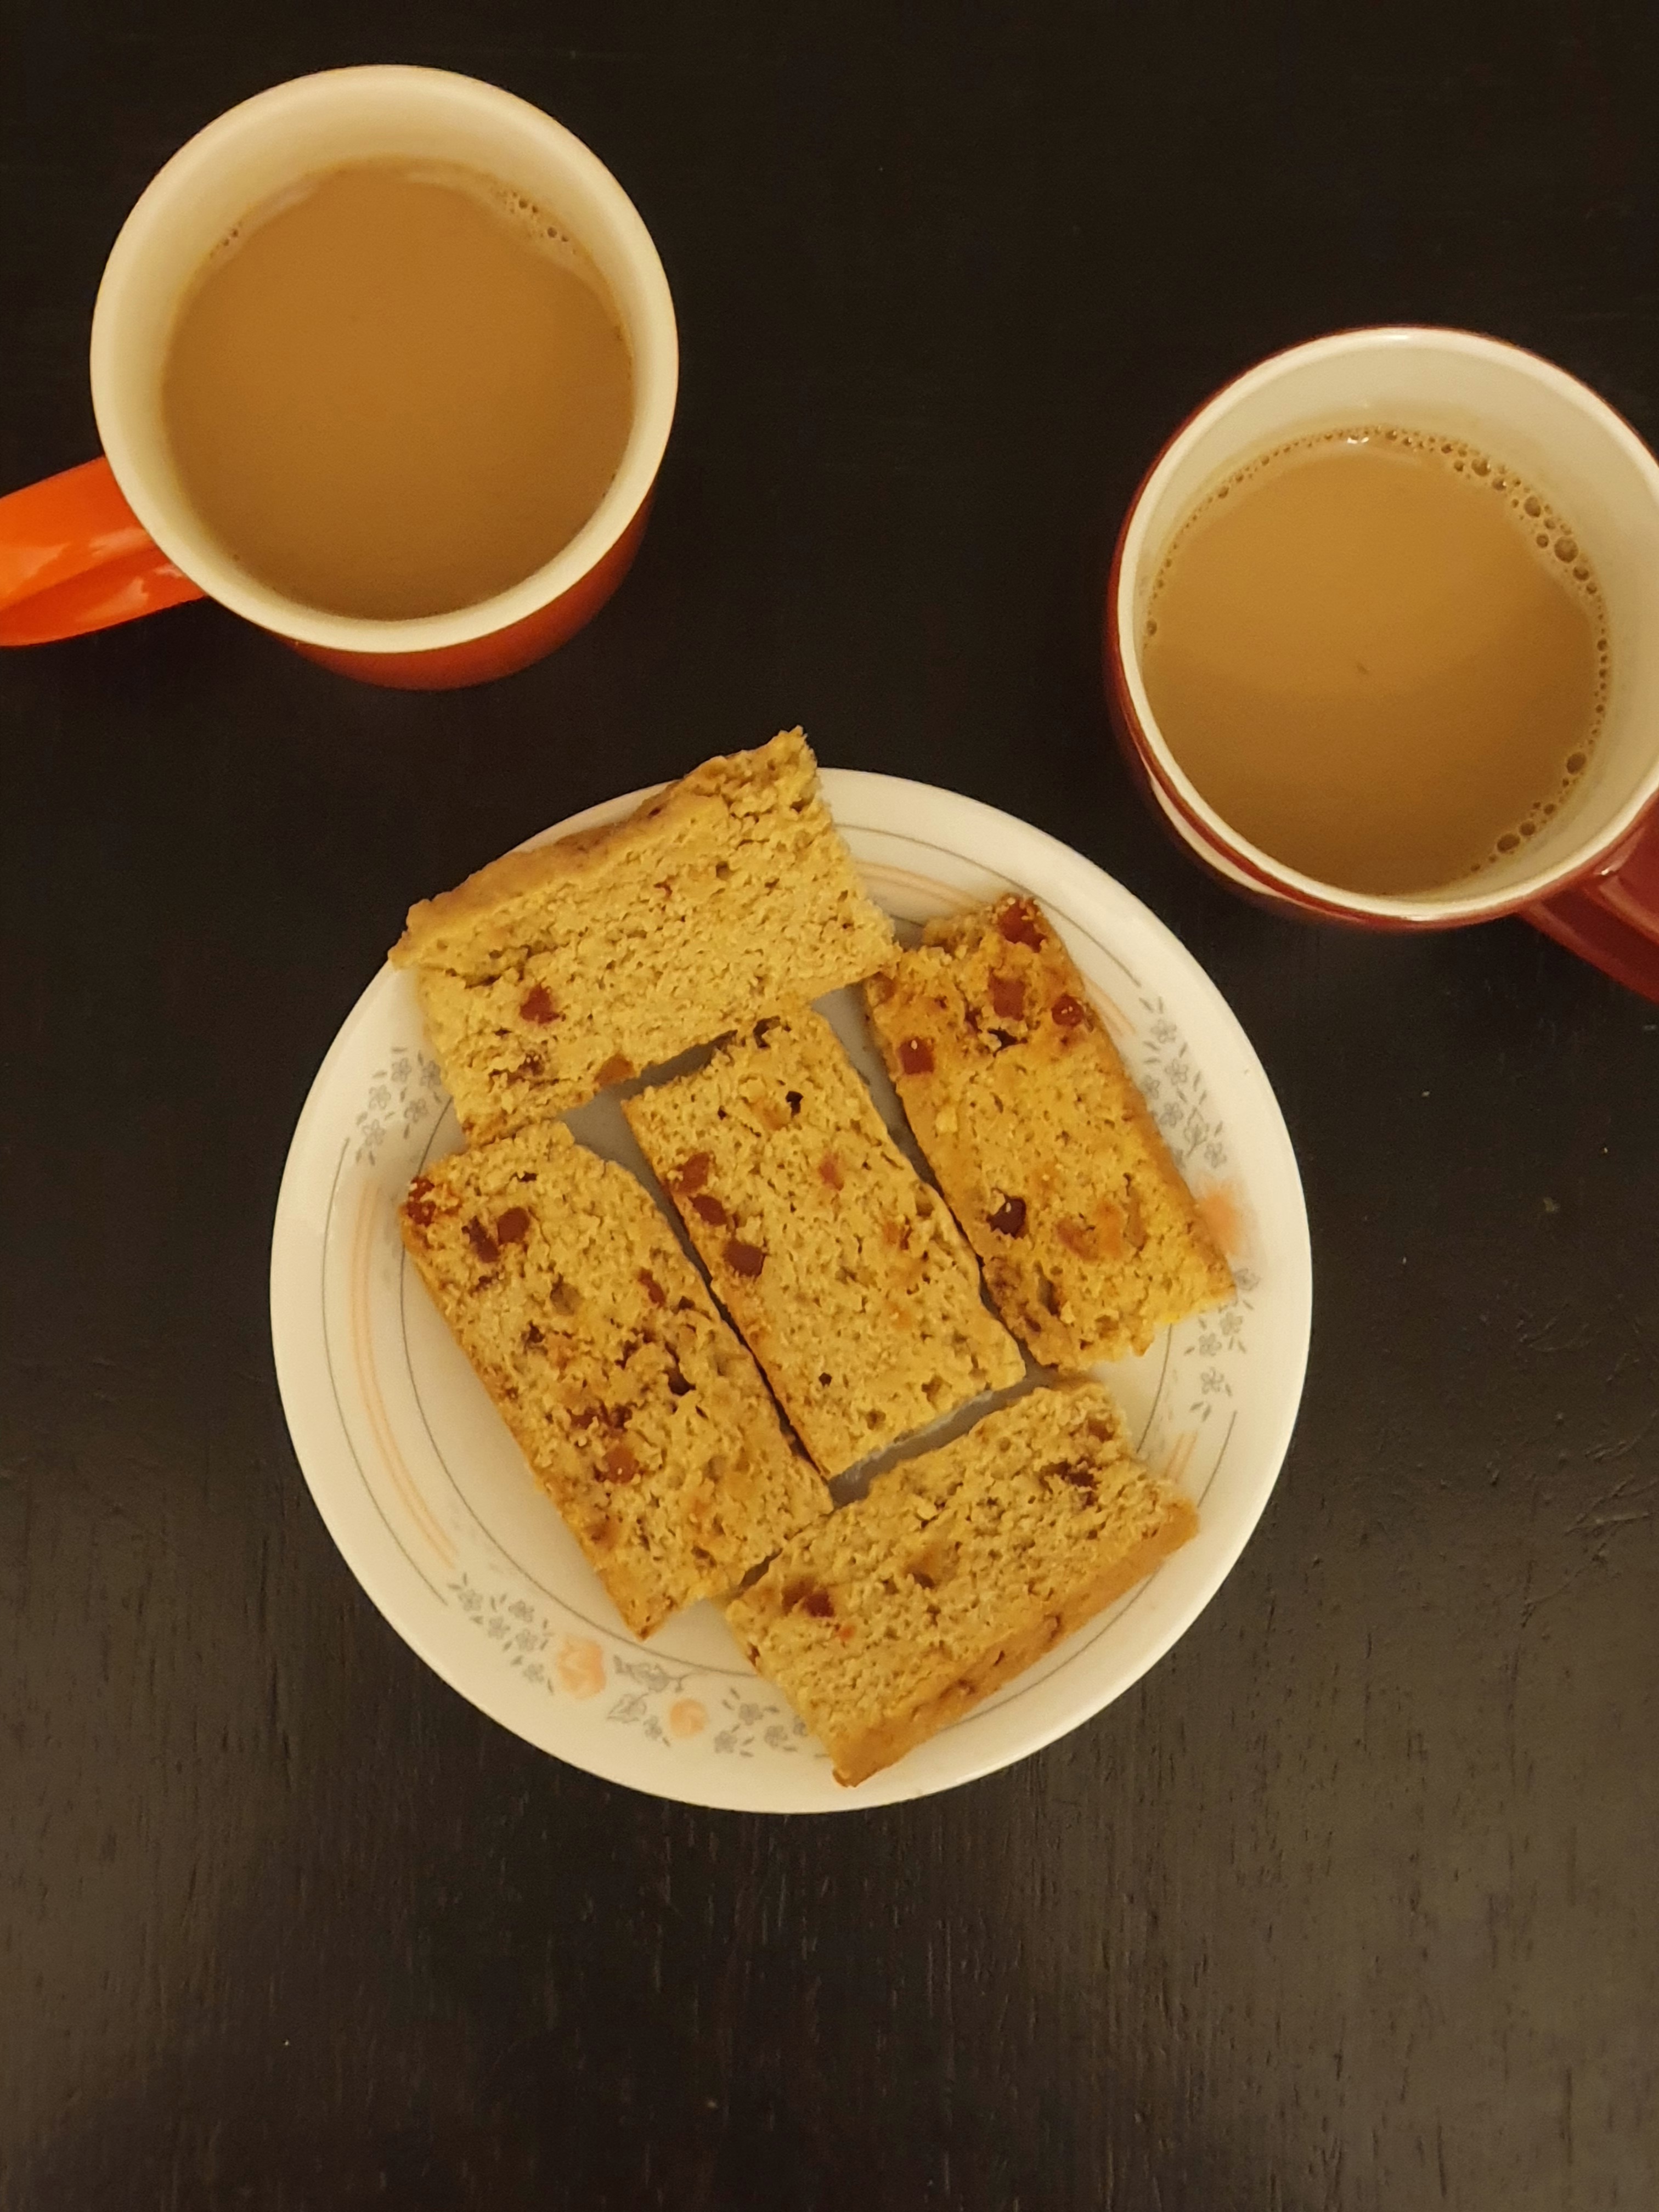
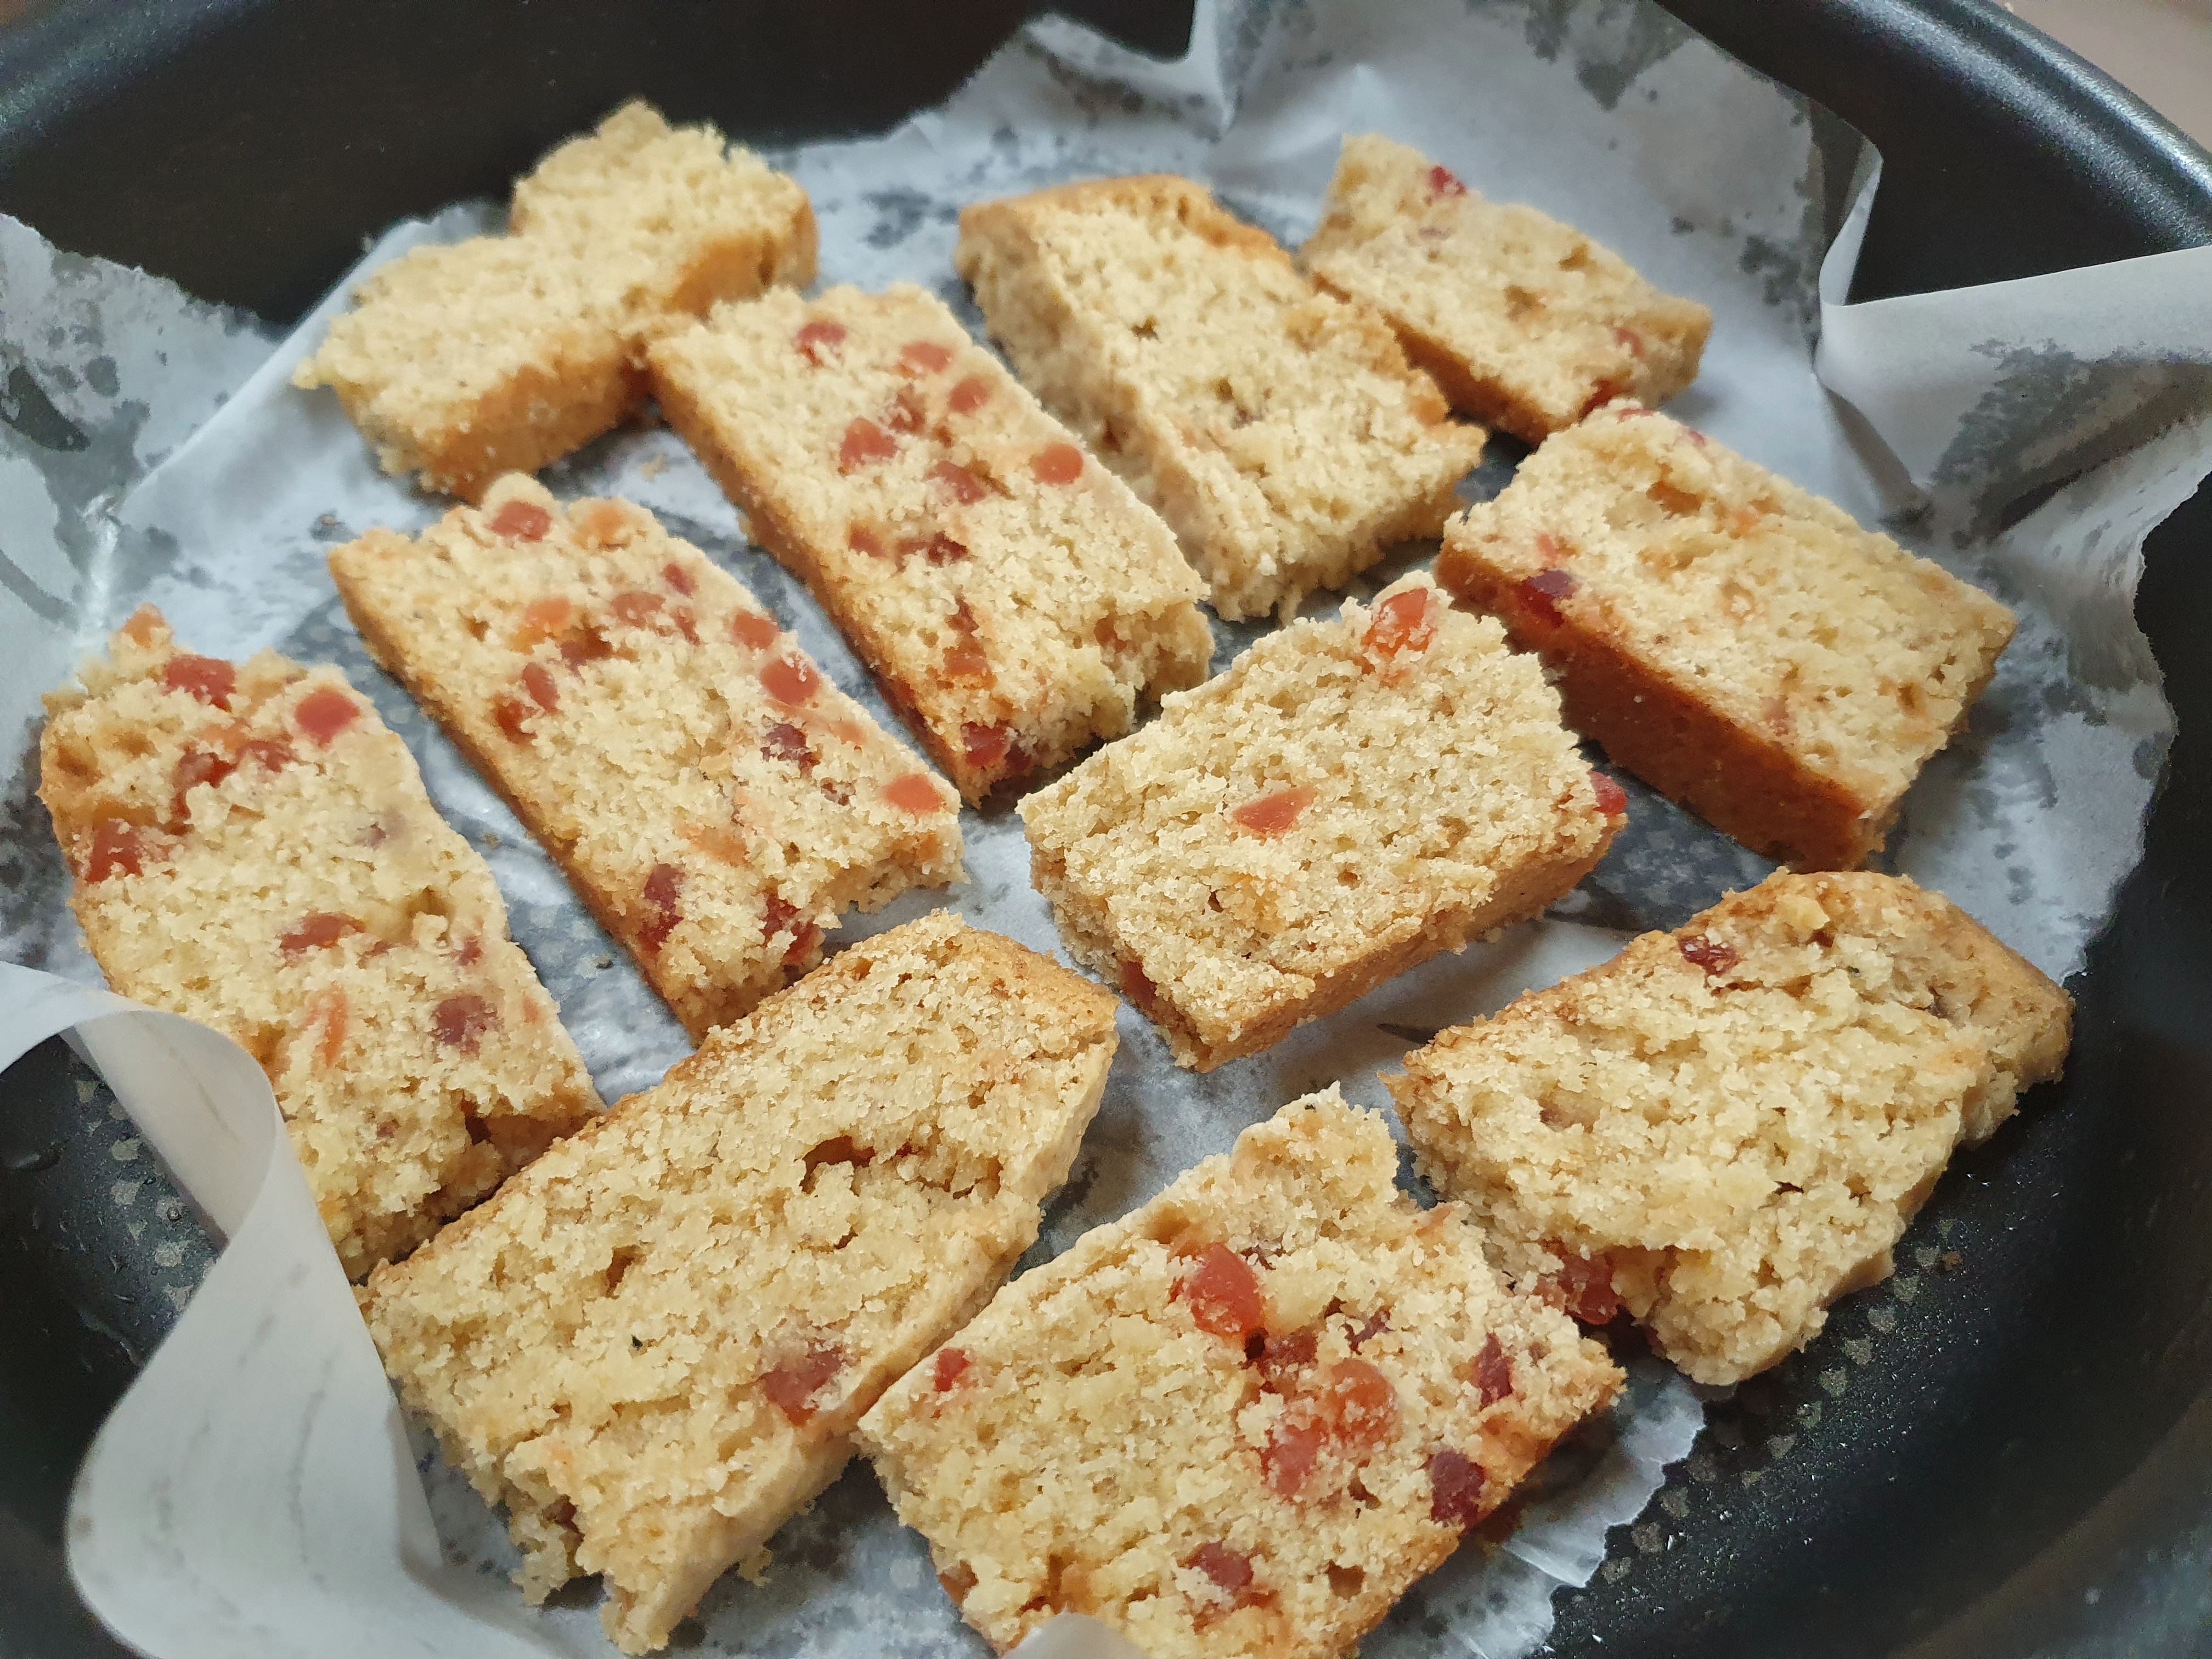
  12. Slice and serve the delicious gulab jamun cake!

Enjoy!

Cheers

R!

Posted in Baked Goodies, Cakes, Desserts and Sweets, Recipes | Tagged , , , , | Leave a comment

Apple Pie

For a long time, I’ve been wanting to try out an apple pie. But everytime I would google a recipe, I would get lost among the millions of recipes online. And so then I would lose hope of trying it and would postpone it for yet another day.

Recently, one of my favorite food blogger/chef – Parth Bajaj posted an apple pie recipe and I just knew I had to try it. And man, am I glad I did! The boys of the house loved it that the plate got wiped clean in a day.

The recipe has been followed to the T from his youtube channel – https://www.youtube.com/watch?v=r5f79X2oAqY&t=300s

For those who want the recipe written down.

Ingredients for the Crust

2 1/2 cup or 315 grams- All purpose flour

1 Tsp – salt (skip if using salted butter)

3/4th Cup or 168 gm – Unsalted butter, cubed butter taken straight from the fridge/freezer

6-8 Tbsp – cold water as Needed

Ingredients for the Filling

2 tbsp – All purpose flour

3/4 cup – brown sugar / jaggery

2 tbsp – water

1 kg or 6 apples – peeled and cut into small pieces

1/2 tsp – Cinnamon

1/4 tsp – Nutmeg

1 tsp – lemon juice

Method

Mix all purpose flour and salt. Mix Now add the cold butter, taken straight from the freezer and mix together using 2 forks. You could also make your life more easy by putting it in a food processor and giving it a quick whisk. The mix will resemble coarse bread crumbs. Now add 6 tbsp cold water and mix.

Transfer the flour onto a clean table and mix it to form a tight dough. There is no need to knead. Also, you could add a tbsp more of water, if needed.

Cling wrap the dough and chill it in the fridge for 1-2 hours.

Meanwhile, peel the apples and cut into small pieces. Mix this with jaggery/brown sugar, cinnamon, nutmeg, water and lemon juice.

Grease a pie tin and keep aside.

Take the chilled dough and cut into 2 halves.

Take one half of the dough and roll into a circle. Ensure the rolled dough will fit into the pie tin, covering the sides too. Press the sides of the dough into the side of the tin to get the pie shape. The excess from the sides can be removed. Take a fork and make holes on the base of the dough so that it will not puff up.

Now add the beautiful apple mix to the pie base.

Roll the other half of the chilled dough. You could make strips of these to form a lattice top or you could use a cookie cutter and make round or star shapes and put it on top of the apple filling. Or go ahead and do both.

Brush with egg wash and sprinkle with sugar (For an eggless pie simply brush with melted butter). This will give a nice color to the pie

Bake at 200 C for 1 hour in a preheated oven.

Once done, let it cool to demold it easily.

Note: Try to use an 8 inch tin so then the crust will fit properly. Mine was a larger tin and so i didn’t have enough of crust for the lattice top.

Enjoy!

R!

Posted in Baked Goodies, Desserts and Sweets, Recipes | Tagged , , | Leave a comment

Butter Chicken

One dish that we normally order when we go out to eat at an Indian restaurant is Butter Chicken. You can literally judge a restaurant based on the butter chicken they serve.

Because of the Corona, we order in only from either Pizza hut, Papa Murphy’s or 2 selected restaurants that’s near to our home. Other than these places, we are skeptical to order from elsewhere. I guess we are better than 90% of my friends, who’ve not ordered from out, even one meal, the past 4 months. Anyway, from the 2 restaurants, we buy Indo- Chinese from one, and grill from the other. We would normally go to Little Hut in Shj/ Dubai for our monthly dose of Butter Chicken. But like I said, too skeptical now.

Now the question arises, why don’t make my own. But for me it was the case of- once bitten twice shy. Only over here, its not once. I’ve actually lost track. I’ve tried many recipes from the internet and it was all a total F.A.I.L. One recipe from a very famous chef asked for 6 tomatoes, and I followed it to the T. I don’t even have to tell you where and how that ended.

Anyway, this time I followed the recipe by Sadia on Savouryandsweetfood (yet again!!!) and it was a hit! I think she picked the recipe up from yummytummyaarthi.com. So thankyou to both Sadia and Aarthi.

I know the pic doesn’t look so great esp since I didn’t have any coriander leaves to garnish it with. And the kids were super eager to try it out. But believe me, don’t go by the looks. I’ll put up a better pic when I make it again. I just couldn’t wait to put the recipe as it is too good to not share asap.

Butter Chicken

I’ve made slight changes as always to suit our tastes. Now, let’s get to the recipe

BUTTER CHICKEN

Ingredients

For Marination

Chicken – 1 kg
Yoghurt – 3/4 cup
Chilli powder – 2 tsp
Garam Masala powder – 1 tsp
Ginger Garlic Paste – 2 tsp
Salt to taste

For Gravy 

Butter – 3 tbsp
Oil – 2 tbsp +2 tbsp
Cumin Seeds – 1/2 tsp
Onion – 1 large, chopped
Ginger Garlic paste – 2 tsp
Red Chilli powder – 2 tsp
Garam masala – 1 tsp
Sugar – 3 tsp
Salt to taste
Tomatoes – 2 large, pureed
Tomato paste – 1 tbsp
Cream – 1/2 cup
Kasuri Methi – 1 tbsp, crushed
Water as required

Method

  1. Marinate the chicken in the ingredients and leave it for about 3 hours.
  2. Heat 2 tbsp oil in a frying pan and place the marinated chicken in a single layer and cook them on high flame till chicken is charred from all sides. Please do not skip this step, as this is what brings flavor to the chicken. Keep it aside.
  3. In a bigger vessel, heat the butter and the oil. Add the cumin seeds and let it splutter.
  4. Add onions and saute it well till it is brown.
  5. Add ginger garlic paste and saute for a minute.
  6. Add in the chilli powder, garam masala, sugar and salt and saute it again for a few seconds.
  7. Meanwhile, blend the 2 large tomatoes in the blender and add this to the above mix.
  8. Cover and cook for 8-10 minutes till the oil starts separating.
  9. Let the mixture cool and then transfer the whole mixture to your blender and blend till smooth.
  10. Pour this back into your pan and put the fried chicken pieces in it. Mix it and let it cook in this thick sauce for about 2-3 minutes.
  11. Now add the desired level of water (about 2 cups) and cook on low heat for 15-20 minutes or till the chicken is cooked.
  12. Once chicken is cooked, add in the crushed kasuri methi and the cream. Now, cook on low for 5 minutes.
  13. Add coriander leaves and cream on top to garnish. ( I didn’t have coriander leaves, so couldn’t put any)

Enjoy!

R!

Posted in Chicken Recipes, North Indian Dishes, Recipes | Tagged , , | Leave a comment

Tutti Frutti Rusk

20200530_183918
As a child, we used to eat a lot of fruit rusks that you get from bakeries. And then suddenly, it just disappeared from the markets. Once in a while you’d get it at LULU but they weren’t good enough because most of them had no tutti frutti in it. It was a total waste.
Before the Covid, when we went home to my parents place, my brother had bought some fruit rusks. And boy, most of them had a good amount of tutti frutti in it and they tasted good too. It brought back a lot of memories. I hunted many places for the same but couldn’t lay my hands on it.
Then when we went home for the Eid break, there was a pack left of the fruit rusks. Seeing my excitement, the husband tried some … needless to say, he and the kids loved it. We finished the packet. I even sent the husband to the store where my brother got but they ran out of stock.
My tough luck.
But now I was determined to make some on my own. Like you know from my previous Tutti frutti cake recipe, I’ve got quite a bit of the tutti frutti lying around.
So I began hunting for some recipes online and fell upon this recipe by Julie from erivumpuliyumm.com
I doubled the recipe because I knew these were going to be loved by the family. So it would get wiped clean in one chai session. And who wants to take the effort of double baking another batch the very next day?? Not me.. especially not when both kids are starting exams soon.
Without further delay, lets jump straight to the recipe from erivumpuliyumm
20200530_183603
TUTTI FRUTTI RUSK
Ingredients (the below is the standard recipe… not the doubled portions)
Butter –  113 grams
Powdered sugar  2/3 cup
Wheat flour 1 cup
All purpose flour 1/2 cup
Tutti frutti 1/3 cup
Milk 1/3 cup
Baking powder 3/4 tsp
Egg 1
Cardamom powder 1 tsp ( this I didn’t double)

Method

  • Preheat oven to 175 deg C and line a square or rectangular tray and line with parchment paper including all sides (makes easier).
  • Sift the flours with baking powder and cardamom powder twice. Keep aside.
  • In another bowl, cream the butter for 2 mins with a beater. Then, add sugar. Mix well to combine. Add the egg and beat again.
  • Gradually add in the flour little by little alternating with milk. Do this in 3 rounds. The batter is thicker than cake batter but stickier than chapathi dough. So the beater will not work. It actually calls for some arm work.
  • Now, add the tutti frutti and mix well to the dough.
  • Transfer the dough to the lined pan and press down using a butter smeared spatula evenly.
  • Bake for about an hour. But keep checking after 40 mins as each oven is different. The tooth pick inserted in the center must come out clean and the dough should look firmer than cake. (It shouldn’t spring back on touch)
  • Place on cool rack for 10 minutes.
  • Invert the cake on a cutting board, remove the parchment paper. Now start cutting in thin slices and then cut in halves. Arrange the slices closely in another tray. (pls refer notes)
  • Now the recipe says ——–Reduce oven temperature to 160 degrees C and place the sliced cake pieces in the oven. Bake for 10-20  mins flipping halfway to the other sides or when the bottom looks slightly brown on both sides.  (pls read notes)
  • Cool on wire rack for 15 minutes and serve. Cool completely before storing in air tight containers.

NOTES
* You can even add a tsp of vanilla, if you don’t like cardamom flavor. I added both vanilla and cardamom, as I didn’t double the cardamom portion, when I doubled all other ingredients.
* It is very important to invert the cake after it cools. As this helps you to get neat slices, else the cake starts to crumble when you cut it. I had totally forgotten to invert and was wondering why the cake was crumbling, till it struck me.

*The recipe after cutting into slices asks to reduce temp and bake for 10-20 mins till it becomes brown. Unfortunately that didn’t work for me though I kept it for 30 mins. So if you’re in the same boat as me, I’d suggest crank up the heat to 190-200 deg C and bake each side for a good 10 mins. Keep an eye on it as each oven works different.  It’ll start to brown. Take it out and it’ll crispen up once it cools.
*Also, I didn’t have a perfect square tin to bake this double cake batter. Either it was too small or too big. So I baked it in my round tin. And once the cake was baked 1st round, I cut the edges to make it into a square. The side pieces, we really enjoyed it as cake. Point is, this recipe makes amazing tutti frutti cake too. Just don’t double bake.

Below is the pic of it in cake form

20200529_213540

This recipe is a keeper for sure.

Hope you enjoy it too.

Cheers

R

Posted in Baked Goodies, Cakes, Recipes | Tagged , , | Leave a comment

Healthy Chocolate Nut Truffles

nut truffles1
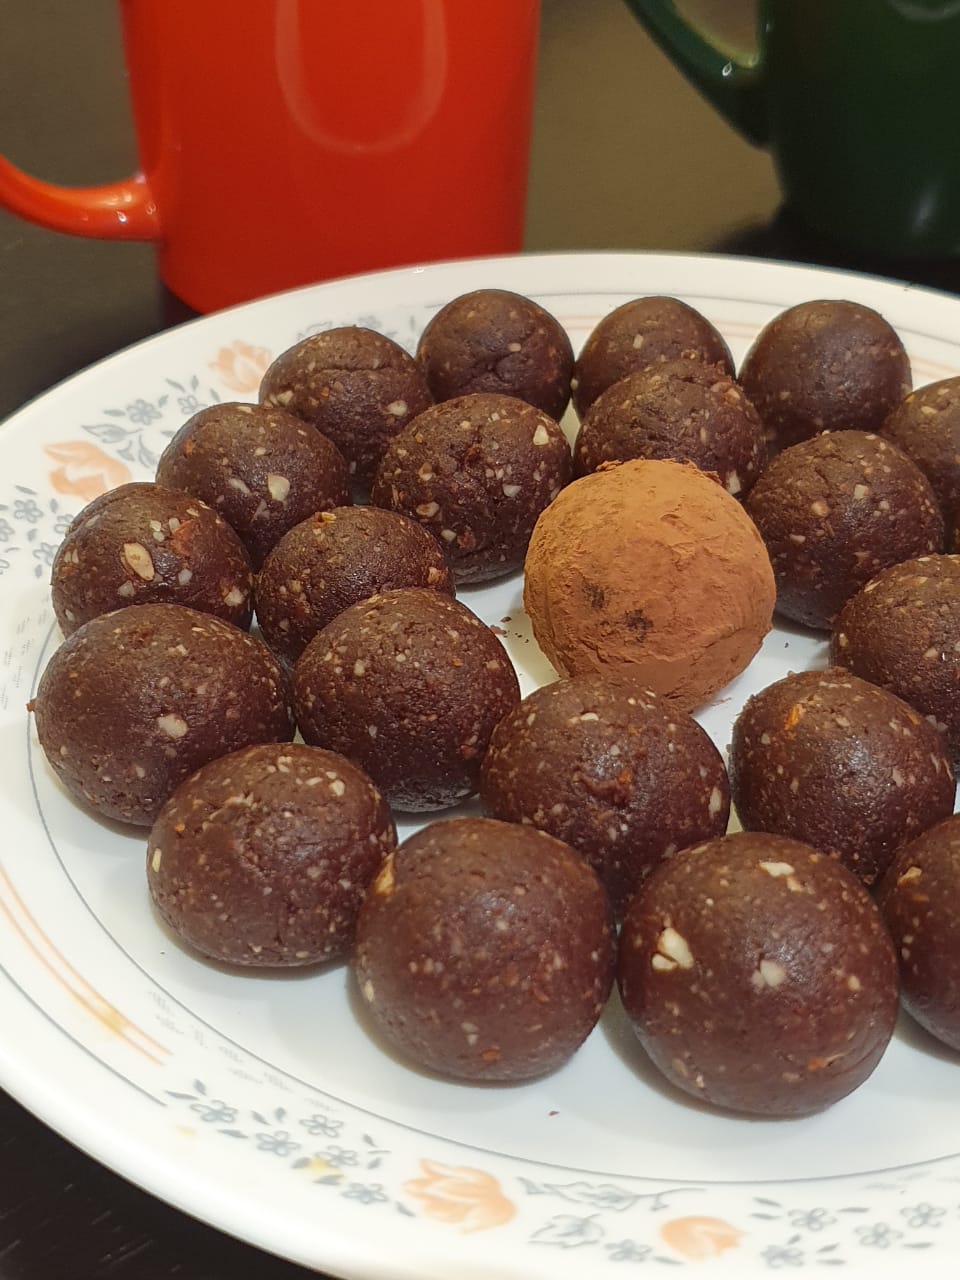
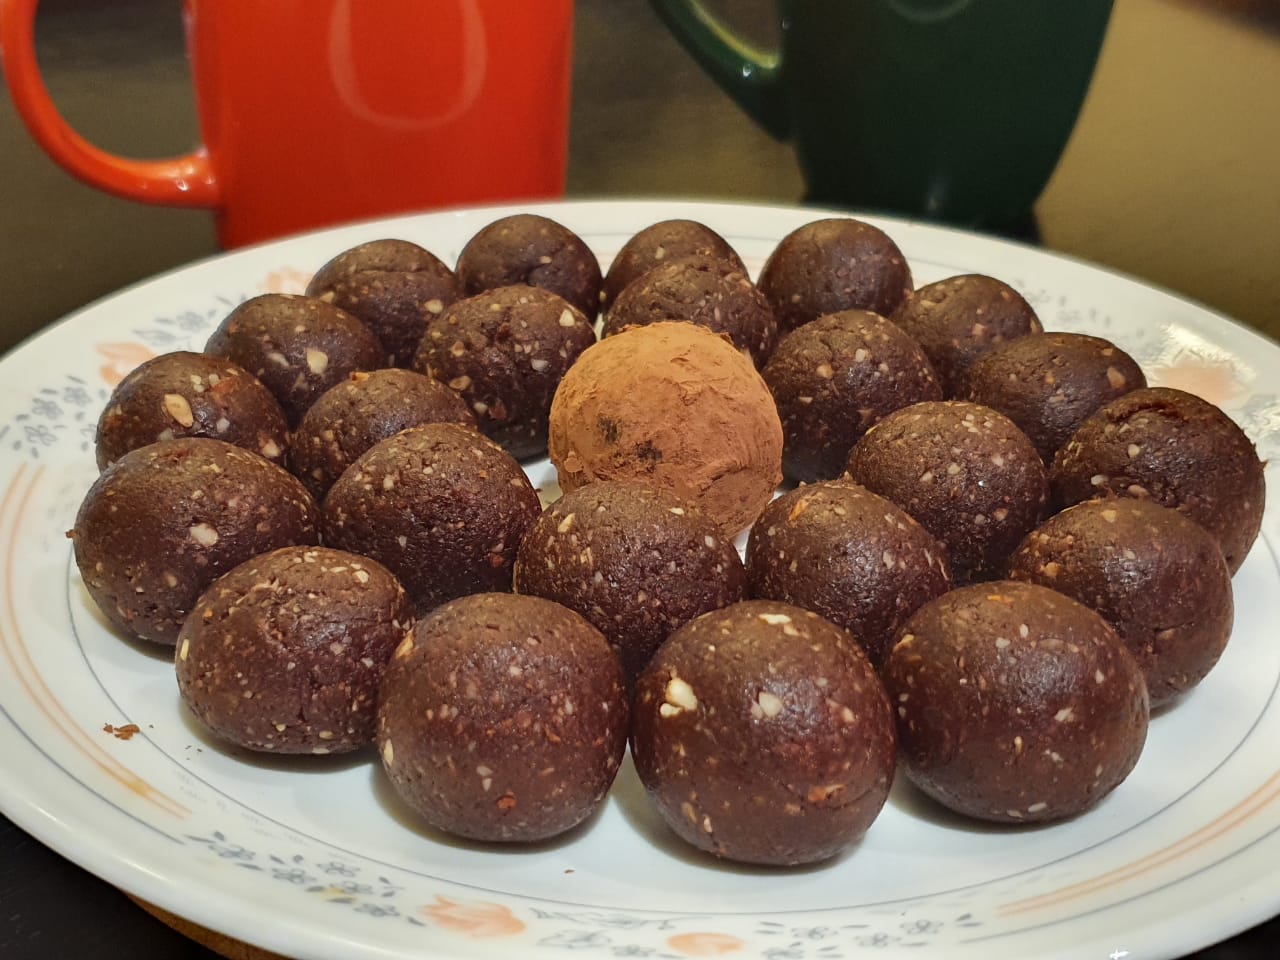
My younger son had to make something healthy for ‘Cooking without Fire Activity’ at school. So this is what I came up with – Healthy Chocolate Nut Truffles.

It’s an amazingly healthy snack for kids as well as us adults.

This is a very versatile recipe. I’ve made it with walnuts and almonds, as this is one way I can get these 2 nuts into the bodies of the boys. You could use pistachio or cashews even.

If I’m not in a mood, I avoid Coconut oil and replace it with 1 tsp vanilla essence.

You could roll the date balls in cocoa powder, dessicated coconut, chopped pista or even dip it in melted chocolate. My kids like it plain, making my work even more easier.

The only thing I try to ensure is always use Mejdoul dates that are soft. Medjool dates are large, soft, juicy dates. If you’re using some other dates, just soak them in warm water for 15 minutes to make them extra soft and sticky.

nut truffles

HEALTHY CHOCOLATE NUT TRUFFLES

Ingredients

  • 2 cups of pitted soft dates (soak in water for 15 minutes prior then drain if they are not very soft)
  • 1/4 cup of raw cocoa powder
  • 1/2 cup raw almonds or walnuts
  • 1 tbsp coconut oil melted or 1 teaspoon vanilla extract (use either one)
  • 1/4 tsp salt

Instructions

  1. In a food processor, add all the ingredients and process for 2-3 minutes till the nuts are chopped and the mixture forms a sticky dough.
  2. Wet your hands lightly, take out the dough and roll it into balls.
  3. Roll each ball into the shredded coconut, cocoa powder, melted chocolate, chopped nuts or have it plain.

You can store this in an airtight container n keep in the fridge. It will stay good for about a week.

Cheers

R

Posted in Recipes, Snacks | Tagged , , , , , | Leave a comment